The Bowes Museum Blog
A Tapestry of Techniques
17 Dec 2015
As part of my internship, I am given a training budget to spend on conferences, courses, and workshops. Last week I had a lovely two days doing a tapestry workshop in Lincoln, organised by the Institute of Conservation. Through making my own little sample I learnt how to do basic techniques that are evident in both historic and contemporary tapestries. This has given me a deeper understanding of the construction of tapestries which will be very helpful when I am faced with conserving one in the future.

Working on my sample on the frame
The course was held at the Heritage Skills Centre, which also houses the Doddington Hall tapestry conservation project. A group of textile conservators are diligently conserving a series of 400 year-old tapestries from Doddington Hall – their progress can be followed on their own blog. Viewing these tapestries up-close was fantastic, as I was able to see how the techniques I was being taught had been used in an historic tapestry. I also learnt from the course teacher, master weaver Caron Penny, about how traditional tapestry techniques are still being used today in the UK to create fantastic, innovative pieces of art.
The first thing I learnt on the course was how to warp up a wooden frame. This involved wrapping thread around the frame. The more warps you have the finer the weave will be. We used cotton, but wool and linen are also used for tapestry warps.
Next, I did some twining and knotting so that I had a solid base from which to start weaving the wefts. We wove the wefts in wool.

Wool wefts for weaving
I learnt how to make a diagonal to separate two areas of colour in a design. A slit is created at the point where two colours join in a tapestry. This can be joined by sewing from the front of the work weft to weft.

Weaving a diagonal
Slits can also joined through the single interlock technique and the double interlock technique. The double interlock technique looks quite bulky so it is usually sewn from the back of the tapestry.

Different methods of joining colours. Double interlock (left); slit (centre); single interlock (right)
I also had a go at hatching and hachures. Hatching is often used in contemporary weaving to create a shift in colour. Hachures are used to create shading, so that an illusion of light and shade can be made. I found the last technique particularly tricky! This technique is normally woven from the back of the work as it creates a float.
I also made a hachure with dots (called demi duite). This technique is used to increase light areas when shading by beginning with a series of dots rather than a line.
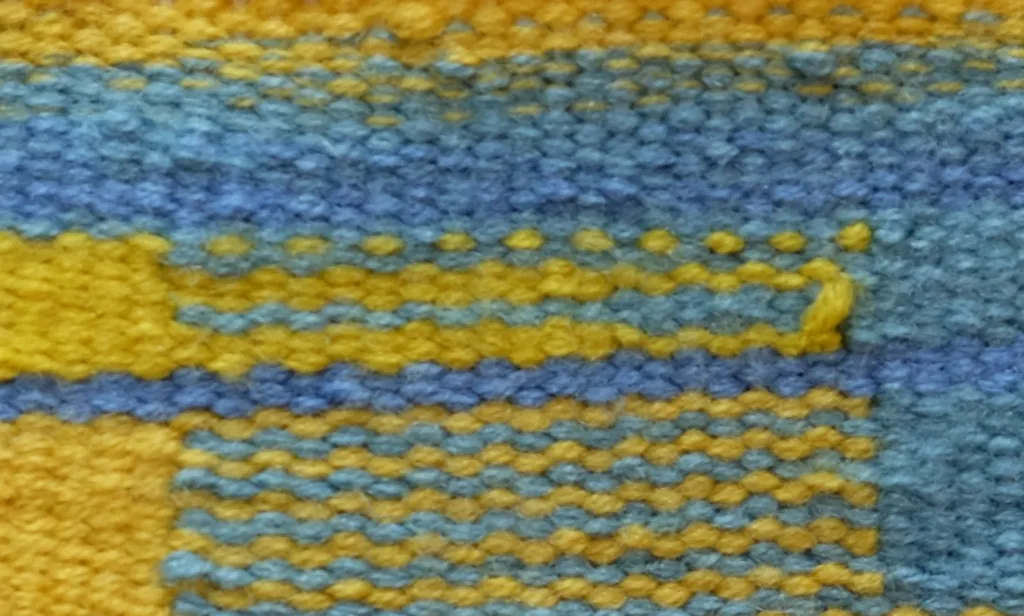
The workshop finished with blending technique. This technique involves changing from one colour to another when weaving by gradually replacing threads in one colour yarn with threads from another colour.

Blending colours. From top to bottom; blending; hachure with dots; hachure; hatching
To finish I created a row of knots along the top of the sample and cut it off the frame to take away and keep as a reference point for the future.
By Kate Clive-Powell, ICON/HLF Textile Conservation Intern

Related posts
All posts
Creating a Space to Explore Collections Care
Over the last two years there has been a spurt of object movement at Museum, spurred on by the implementation of its new Mission and Values and focusing on making the collections more accessible. Some objects in storage are being relocated and some storerooms are being re-purposed. The result is that many objects which haven’t
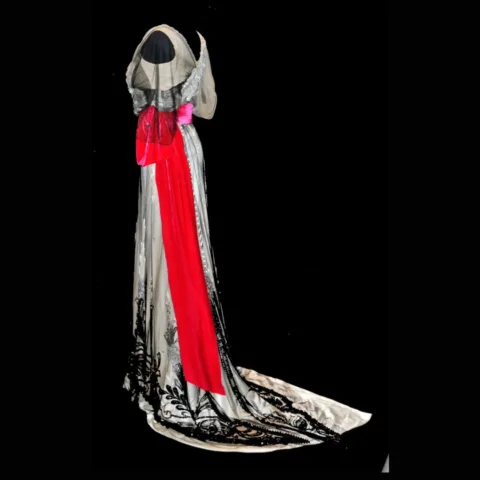
A unique dress
In The Bowes Museum dress collection there is an evening gown designed by Paquin in 1911. Inside the bodice is a sturdy twill waist stay woven with Paquin’s signature in pink and ‘Hiver 1911’, indicating it was from her winter collection. Madame Paquin (1869–1936), was a French fashion designer, known for her modern and innovative designs. In


SIGN UP TO OUR NEWSLETTER