The Bowes Museum Blog
Investigating A Masterpiece
23 Jan 2015

Figure 1: Image of the 15th century altarpiece of ‘The Passion, Death & Resurrection of Christ’, with the panel paintings by The Master of the View of St Gudule and the wooden carvings by the Brussels Guild of Sculptures.
For my third post I want to tell you about the start of our work on the crowdfunded project to conserve the 6 quite exquisite double sided panels of a 15th century altar piece by the Master of the View of St Gudule (see previous posts Tagged ‘Altarpiece’ for further details). Our work up until this point has focused on undertaking the process of examining and documenting the current condition and structure of each panel, in order to produce an accurate condition report. These reports form the basis of knowledge onto which a tailored treatment plan will be moulded, which will endeavour to ensure the panels continued safe existence into the future, whilst not unduly interfering with, or tainting its artistic or historic legacy.
To enable this process to begin, and for the acquisition of the detailed information needed for the condition report, we employ a number of different diagnostic tools and examination techniques, which I will now try and roughly outline for you (please bear with me, it is interesting, I promise).
The process begins with photographing each panel in the studio, firstly under ‘normal’ lighting (bright studio lights), then using ‘raking light’ (where the light source is placed at an oblique angle to the surface of the painting), and if warranted ‘transmitted light’ (where the light source is positioned behind the painting).
Here are examples of each type of photograph in action, showing how these different lighting techniques can each be useful in highlighting different problems.
Example 1:
The raking light photograph shows the presence of areas of loose flaking paint.

Figure 2: Image of ‘Saint Jerome’ taken in ‘normal’ light.

Figure 3: Image of ‘Saint Jerome’ taken in ‘raking light’.
Example 2:
The transmitted light photograph helps to reveal the extent of the break in the join of the panel.

Figure 4: Image of ‘The Risen Christ’ taken in ‘normal’ light.

Figure 5: Image of ‘The Risen Christ’ taken in ‘transmitted light’.
Photographs in ultraviolet light and infrared are also essential aids and respectively can potentially yield such information as the presence of unoriginal paint material, to the outline of the original underdrawing, but as they have not been taken yet for this project (due to a soon to be resolved technical issue), I will not go into further detail here.
The next stage is where the majority of the hands on detective work takes place, as the panels are each carefully and closely examined lying face up on a secure mortuary table (sorry just trying to paint a memorable scene). Every square centimetre of the painting is studied using low level magnification (head magnifiers – not Homes-esque magnifying glasses sadly) and LED torches (raking light), for any anomalies on or in the surface of the painting (losses, cracking, flaking paint, foreign material etc), a UV torch is also used, which in this case helped to indicate both the presence of an aged varnish layer as well as areas of unoriginal paint material. The last tool in our armoury to be deployed is the binocular microscope (X 60 magnification), which we keep in reserve for the close up examination of areas of structural or conditional interest, which for this project included the identification of suspected areas of non-original paint material through the study of individual brush strokes.

Figure 6: Image showing the use of the binocular microscope on ‘The family of Zebedee’.
Each piece of information (evidence) from these various sources is slowly gathered together, and enables us to quite literally build up an accurate picture of the condition and structure of the painting (as can be seen below). The form of this overall ‘picture’ will then dictate what course of action that will be taken in terms of treatment.
Example 3:
Showing a photograph of St Antony in ‘normal’ light on the left, and then the same photograph of St Antony on the right with the addition of the different information gathered through the condition reporting process.

Figure 7: Image of ‘Saint Antony’ taken in ‘normal’ light.

Figure 8: Image of ‘Saint Antony taken in normal light with the gathered conditional information added. Black outline = Flaking paint, Red outline = unoriginal paint (retouching), Green outline = Loss, Blue outline = Areas of previous selective cleaning, aged varnish removed.
Stay posted for future updates on the treatment of the 6 double sided 15th century altarpiece panels by the Master of the View of Saint Gudule.
By Paul Turner, Paintings Conservation Intern
![]()
![]()
Related posts
All posts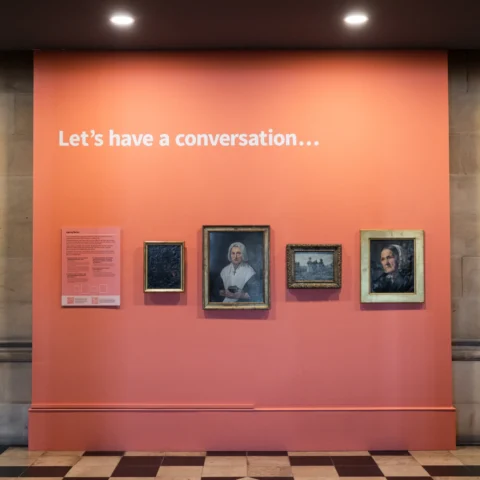
Ageing Better
November’s Conversation Wall, titled ‘Ageing Better’ presents a selection of 18th and 19th century paintings depicting different interpretations of ageing. The display puts the paintings into context, explaining the social and historical factors including class, gender and material status that would have impacted someone’s quality of life in the time that the subjects were painted.
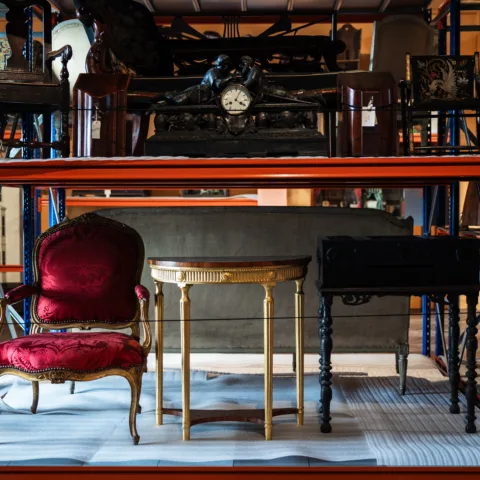
Creating a Space to Explore Collections Care
Over the last two years there has been a spurt of object movement at Museum, spurred on by the implementation of its new Mission and Values and focusing on making the collections more accessible. Some objects in storage are being relocated and some storerooms are being re-purposed. The result is that many objects which haven’t
Paris Then and Now
From Saturday 10th August until Wednesday 4th September, the Museum’s latest topical display will be on show on the ‘Conversation Wall’ in the entrance hall. This month’s display was inspired by Paris, a nod to the city taking centre stage this summer as host of the Olympics and Paralympic Games. Paris has been very much


VW: Rebel Storyteller Visionary Wooden Pin
£4.50
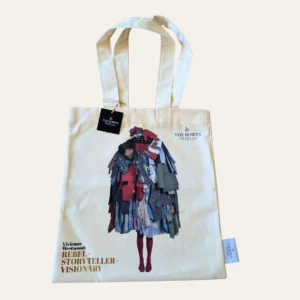
Rebel Storyteller Visionary Cotton Theale Bag
£19.50
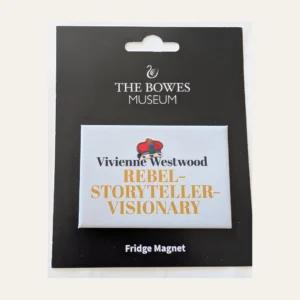
Rebel Visionary Storyteller Magnet
£3.50
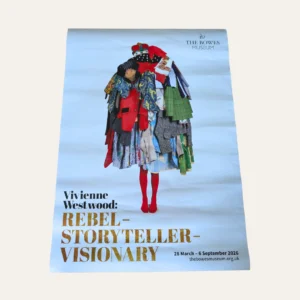
Rebel Storyteller Visionary A2 Poster
£3.99
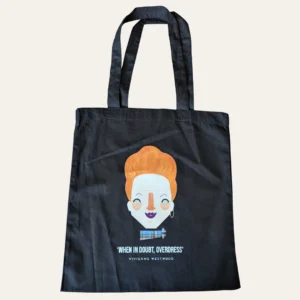
Bowes Museum x HIMP Westwood Tote Bag Black
£16.99
SIGN UP TO OUR NEWSLETTER