The Bowes Museum Blog
Put the Dog in the Frame
15 Jan 2016
It has been over a month since I last blogged about preparing the portrait of Josephine’s dog, Bernardine ready to go on loan later this month. Since that time she has undergone a full makeover, rather than the aesthetic touch up that was initially recommended (more of which in a later post). In this post however I would like to focus on the conservation of the frame, and share with you the problems encountered and new techniques I was introduced to during the treatment.

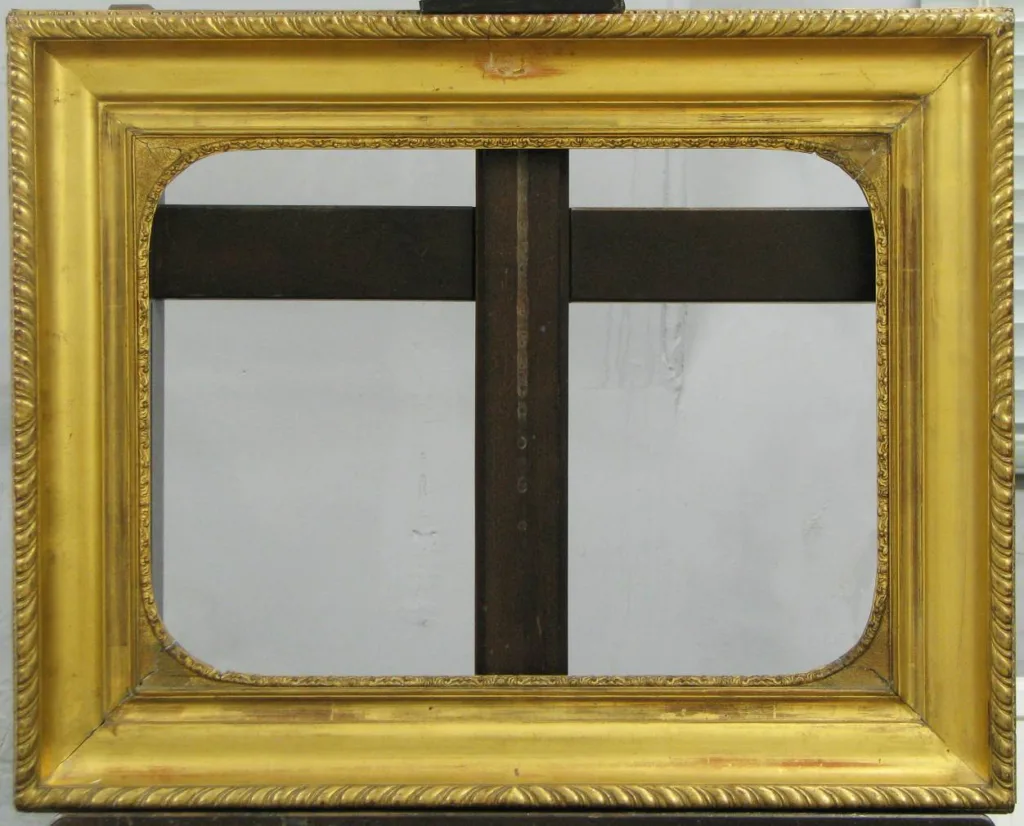
Frame before treatment
The portrait was held in a 19th century moulded and gilded frame constructed of yellow pine with gilded and sanded spandrels (these are the shaped gesso ornaments that create the curved sight edge framing the painting).
As mentioned in my last post last post, previous reframing methods using foam and glue on the rebate had caused the foam to stick to the surface of the painting and detach sections of paint from the canvas, leaving large losses at the bottom of the picture.
Here are a few pictures to remind you:

Detail of frame rebate with detached paint attached to foam

Detail of damage to painting caused by adhesive
The degraded polyurethane foam easily detached from the frame leaving the hardened and crosslinked adhesive firmly stuck to the wooden rebate. Despite testing solvents of increasing polarity on the hardened glue it was only possible to remove the glue mechanically using a scalpel.

Back of frame with degraded sponge attached to rebate

Removing sponge to reveal hardened adhesive

During treatment removing adhesive with scalpel
Once the foam had been removed it was clear that the frame had been modified, with sections removed to enlarge the rebate, perhaps to accommodate this very painting. Possibly as a result of the adaptation, the rebate was slightly warped and curved inwards. The gesso corner spandrels were also cracked and loose and had pushed into the painting, causing concave deformations at each corner of the canvas.

Detail of back of frame during assessment showing the modified rebate with section of wood removed
The frame was also without a protective backboard and when still in its frame the painting protruded from the back by 2.5cm and would therefore require a build-up (a section of timber fitted around the existing rebate to increase its depth, to which a backboard could be attached).
Before the painting could go on loan, the frame would need to be altered, this time to conservation standards, in order to prevent the painting incurring further damage.
Firstly the loose gesso moulding was glued in place using High Tack fish glue, a non-toxic adhesive that can be re-activated by water.

Detail of loose moulding during treatment being re-adhered with High Tack fish glue
Perhaps the most pressing (!) treatment to undertake was to fill and level out the uneven rebate. With the addition of a build-up to the back of the frame, this treatment would essentially create a new rebate to allow the face of the painting to rest against an even surface that would not press onto the canvas.
In consultation with Jon Old (Paintings Conservator) a plan was devised to fill the rebate void with dense plastazote foam, a material often used in frame conservation for its inert properties. In addition, because plastazote is black, it would not need to be stained to conceal it from view along the sight edge of the frame.
Using melinex and permanent pen, I traced the shape of the rebate and used this template to cut out pieces of plastazote with a scalpel to then fill the void.

Planing down the balsa wood to be level with the frame
The balsa pieces were then painted with a water-based wood stain to disguise its light colour and sealed with Paraloid B72®, a synthetic varnish to ensure that the stain does not transfer on to the painting, before being secured in position with fish glue.

Detail of fitted balsa wood

Revealing uneven profile of original rebate

Detail of balsa after staining and adhering in the rebate
A piece of timber was cut and attached to the back of the frame with screws to create a new rebate deep enough to accommodate the painting.
As a further precaution, thin strips of flexible plastazote foam were adhered with fish glue to the rebate, to protect the newly conserved painting and cushion it against the frame. Thicker pieces of plastazote were then used as spacers to correctly position the painting within the frame.
Notches were cut out of the build-up with a chisel to accommodate the brass mending strips that hold the painting in the frame and will allow the correx back board to lie flat.

Painting fitted in frame with brass mending plates and plastazote spacers just visible along edges of the painting.

With Correx backboard fitted
Once the structural work was completed on the back of the frame, losses to the gesso at the bottom edges of the frame were filled with Flugger and then retouched with watercolours.
-
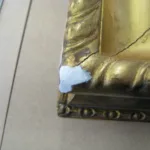

- Detail of chipped gesso ornament filled with Flugger
-
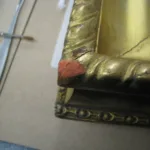
- Fill after retouching with red watercolour to match the original red bole layer beneath the gilding
-
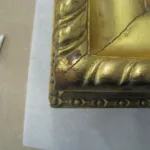
- Detail after treatment. Final layer of watercolour to match the worn gilding
With almost equal time spent on the frame as the painting the whole treatment of Bernardine has been an instructive process and an excellent learning tool for me as a conservator in training.

And here is the dog in the frame after treatment
Pauline Murray, ICON/HLF Paintings Conservation Intern

Related posts
All posts
Ageing Better
November’s Conversation Wall, titled ‘Ageing Better’ presents a selection of 18th and 19th century paintings depicting different interpretations of ageing. The display puts the paintings into context, explaining the social and historical factors including class, gender and material status that would have impacted someone’s quality of life in the time that the subjects were painted.
Creating a Space to Explore Collections Care
Over the last two years there has been a spurt of object movement at Museum, spurred on by the implementation of its new Mission and Values and focusing on making the collections more accessible. Some objects in storage are being relocated and some storerooms are being re-purposed. The result is that many objects which haven’t
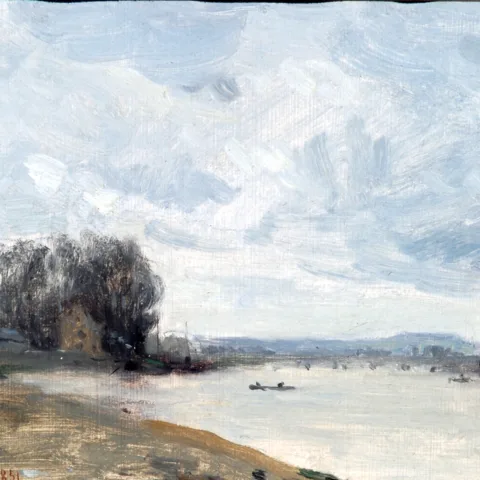
Paris Then and Now
From Saturday 10th August until Wednesday 4th September, the Museum’s latest topical display will be on show on the ‘Conversation Wall’ in the entrance hall. This month’s display was inspired by Paris, a nod to the city taking centre stage this summer as host of the Olympics and Paralympic Games. Paris has been very much


SIGN UP TO OUR NEWSLETTER